
Ask anyone who knows me really well and they will tell you that I am a Starbucks junkie! While searching for ideas for my Blog-O-Ween series, I was beyond excited to see an idea for a Starbucks Frappuccino! It looked simple enough so I began gathering everything I needed to make this costume a reality. Lucky for me, I found the perfect brown dress at my local Goodwill! Besides the dress, I picked up a few things from my local craft store and a few thing from around my house. With just a little bit of work, the costume was complete!

Here is what you will need to get started:
A Brown Dress, Tunic or Long T-Shirt (Goodwill)
A Large Sheet of Green Felt (Michaels)
A White Feather Boa (Michaels)
A Paper Towel Tube
A Plastic Headband (Dollar Tree)


Step 1: Put a line of hot glue on the toilet paper tube. Continue adding lines of glue, rolling the felt around the tube to secure. Do this until the tube is completely covered in felt. Secure any loose ends with hot glue and trim off any excess felt. Cut a piece of felt to cover the bottom of the tube. Secure it to one end of tube with hot glue. This piece will serve as your straw.


Step 2: Once the tube is dry, secure it to the headband with hot glue. I used a BUNCH of hot glue to ensure that “straw” was not going to fall off. Allow this to completely dry. Once dry, cut a small piece of the feather boa and secure to the base of the “straw.” Make sure it is the end that is attached to the headband. The feather boa will serve as your whipped cream.


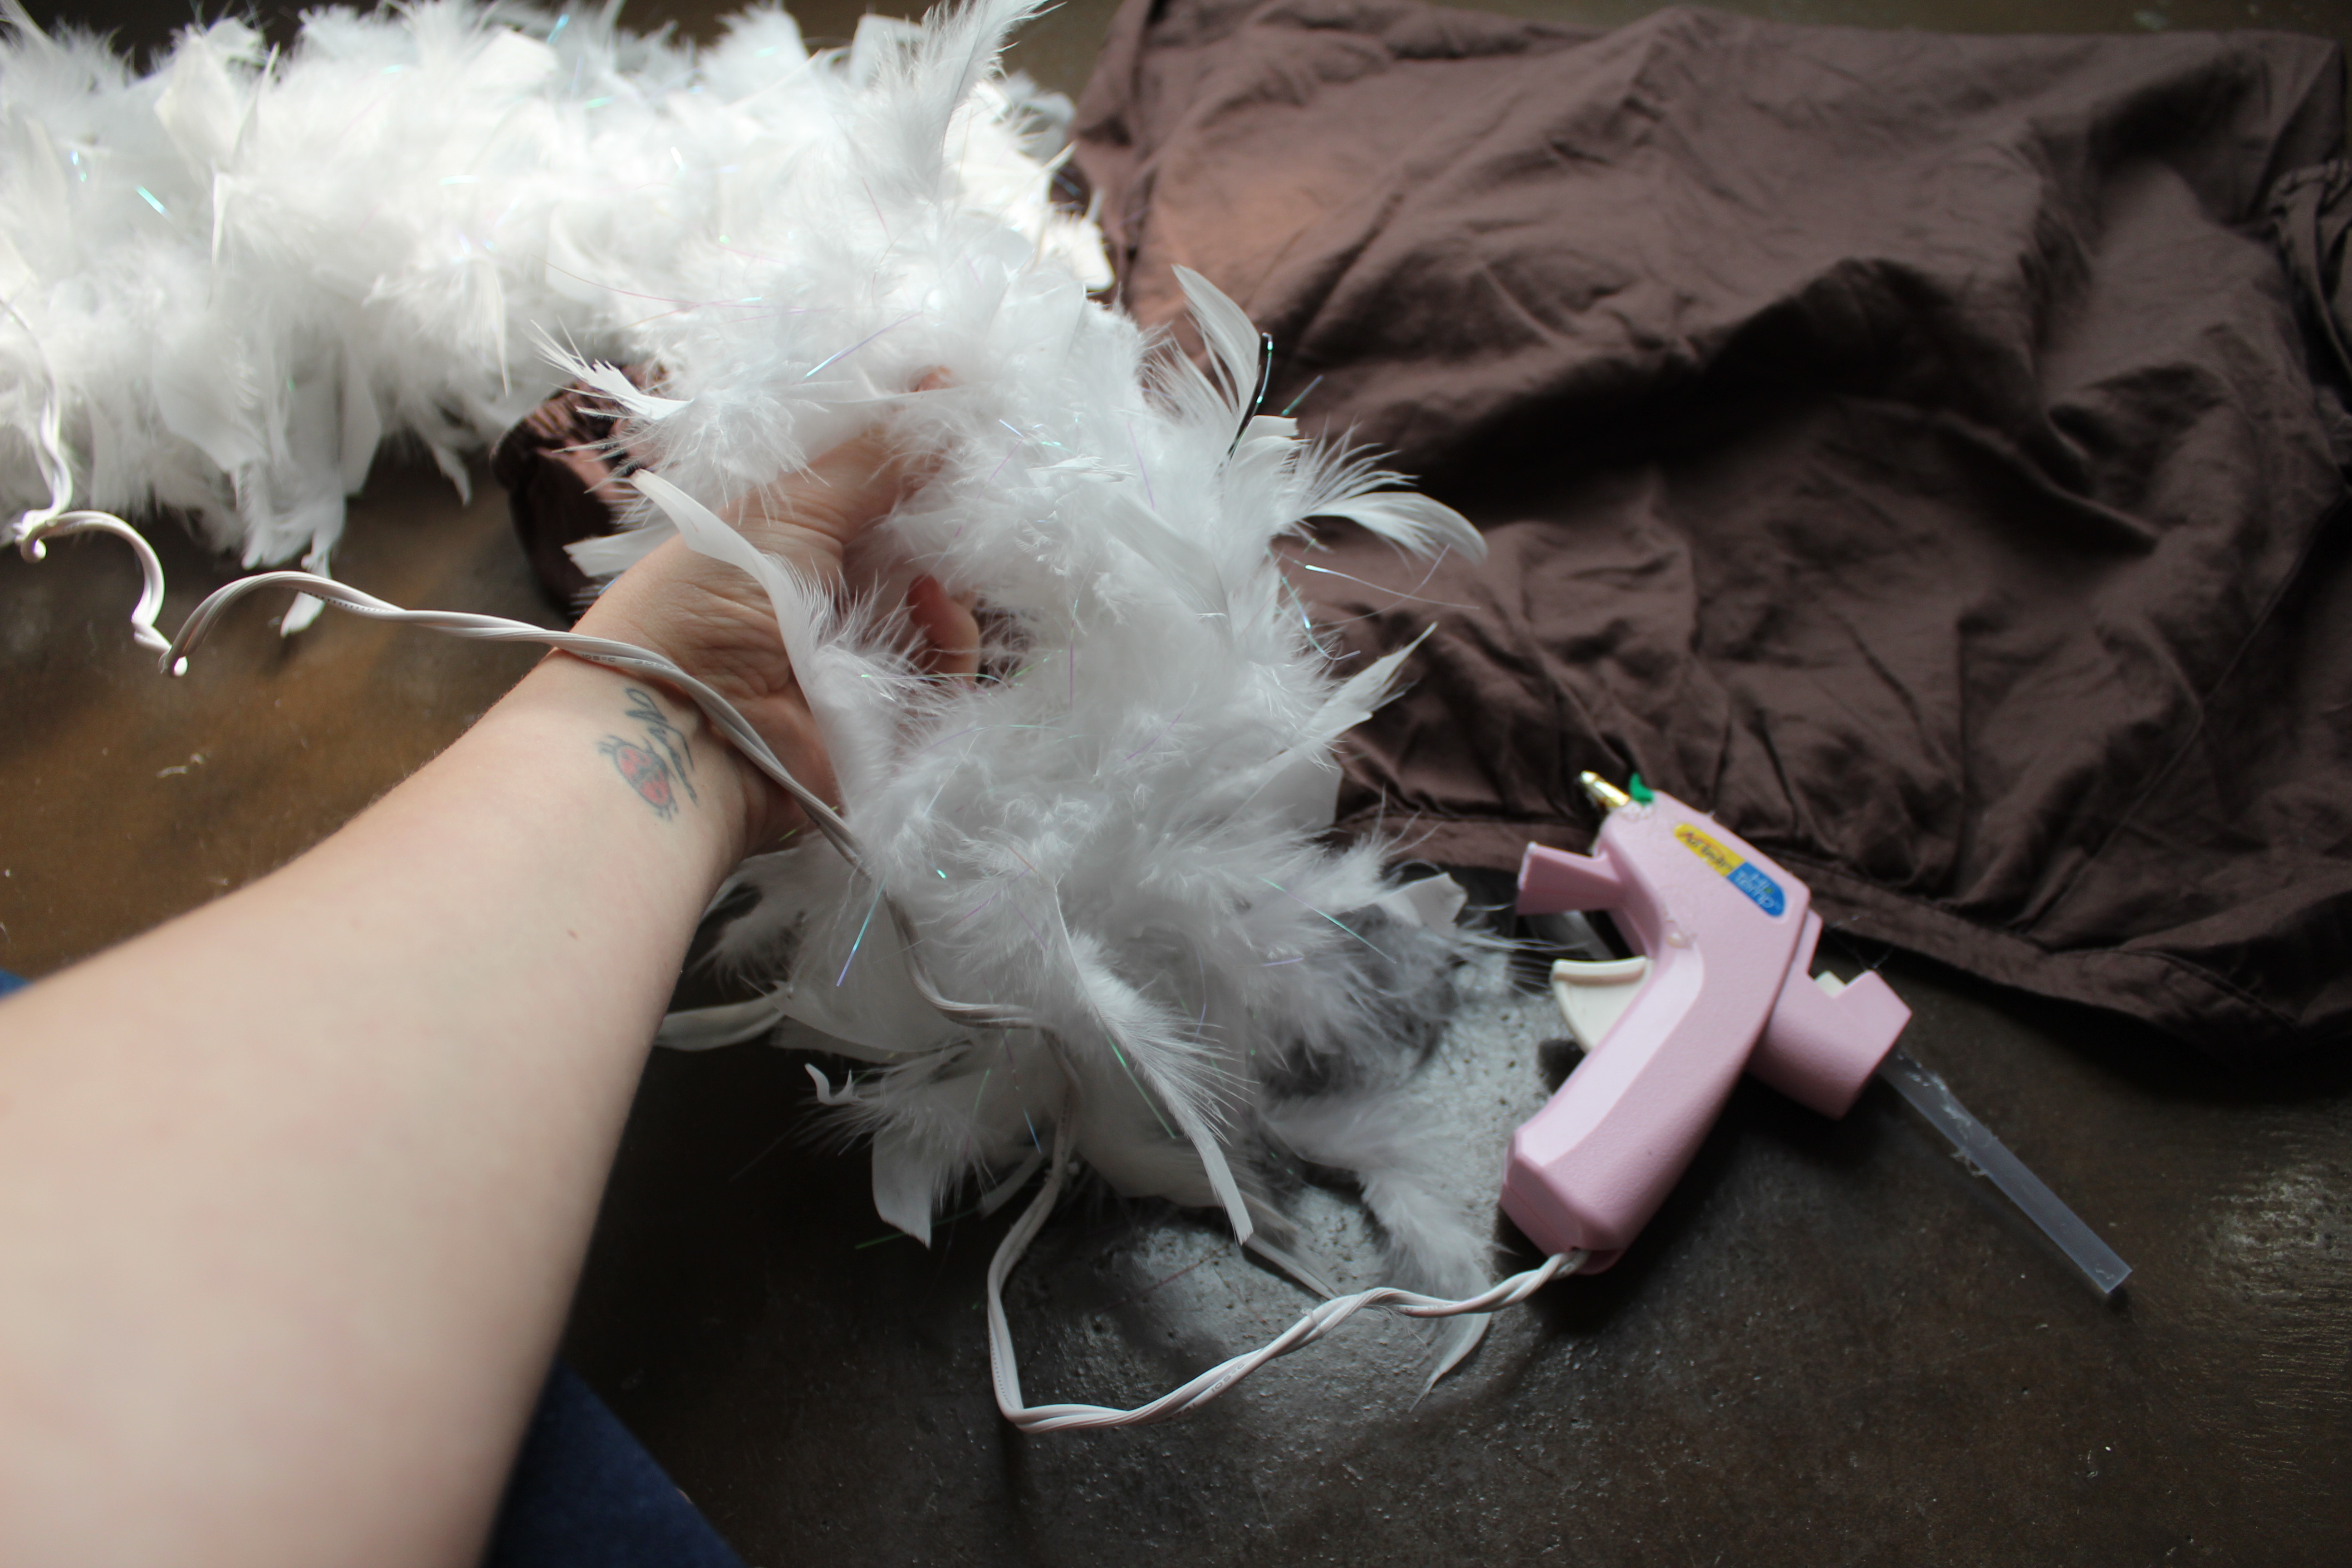
Step 3: Using the rest of the feather boa, glue the boa to the neck of the dress. I continued gluing until I had completely covered the neck. I had enough of the feather boa to go around the neck twice. Make sure that you secure the end of the feather boa with a lot of hot glue so that it will not come unattached.


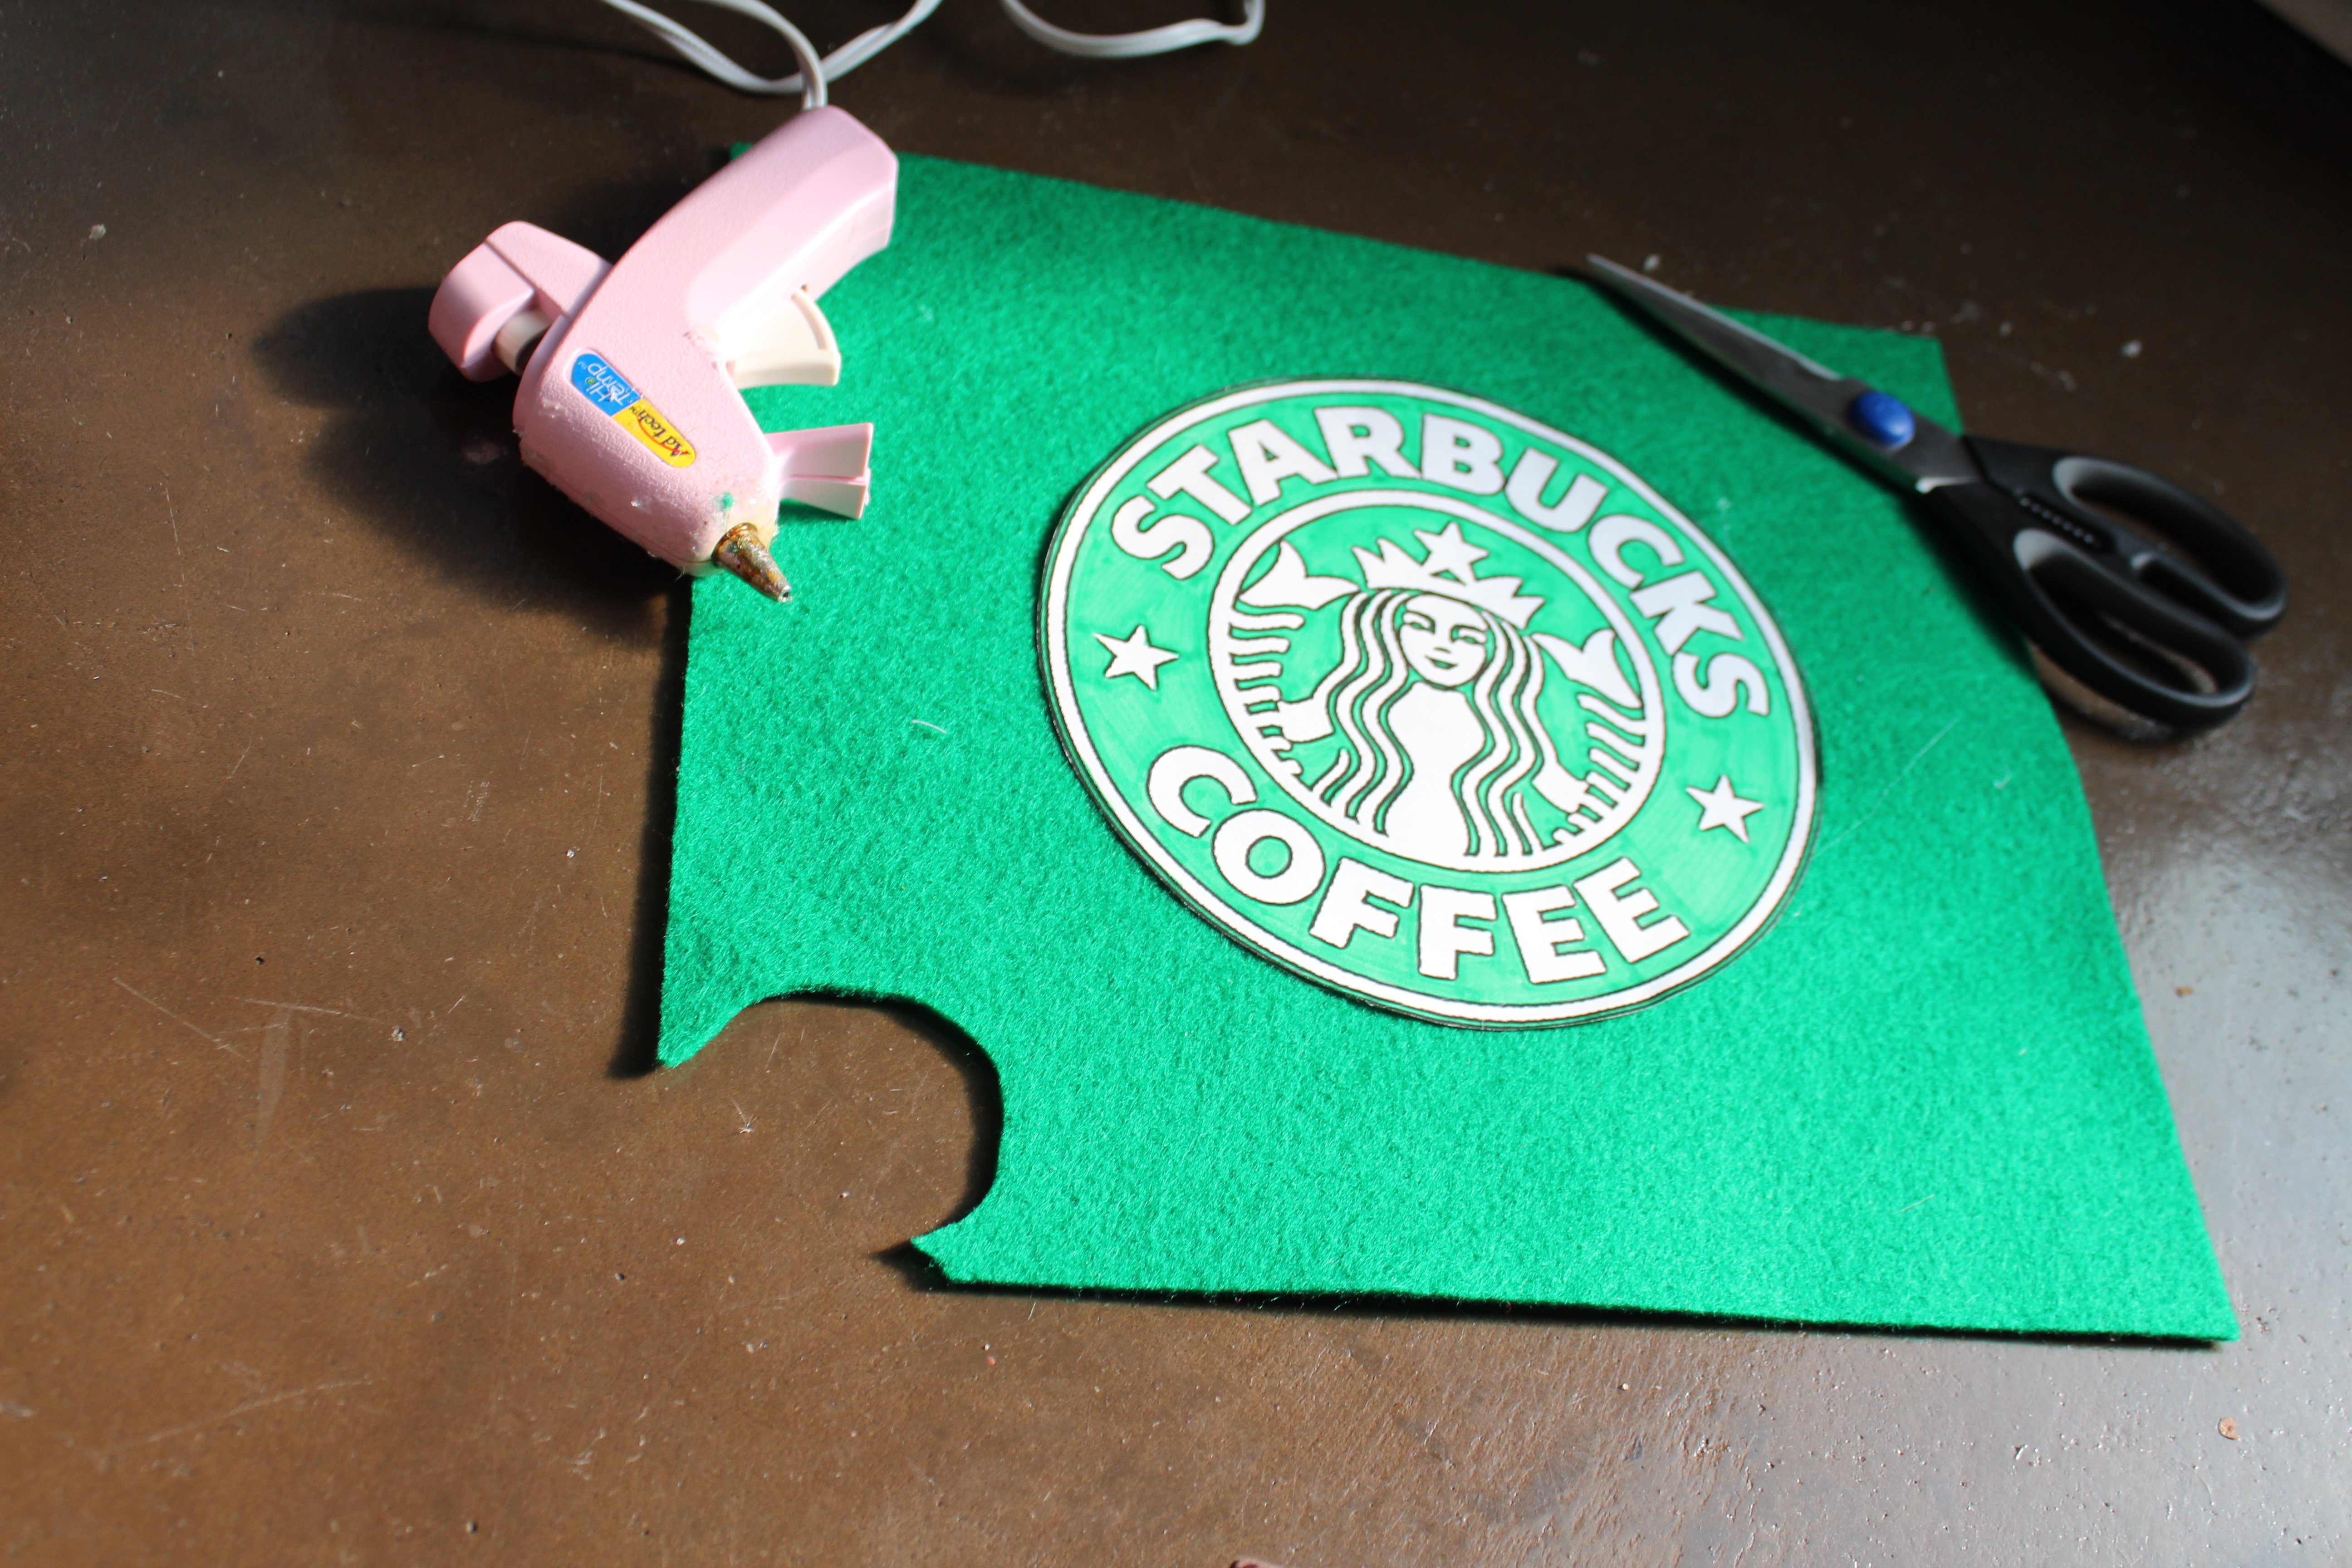
Step 4: To create the Starbucks logo, I searched on Google for a black and white Starbucks logo. Once I found the one that I liked, I saved it to my computer and inserted it into a Word Document. I was able to adjust the logo to the size that I needed in the Word Document. I then printed the logo and colored it using a green Crayola marker. Cut out the logo and attach it to the rest of the felt using hot glue. Once dry, cut the logo out, making sure to leave a little bit of felt around the edge.
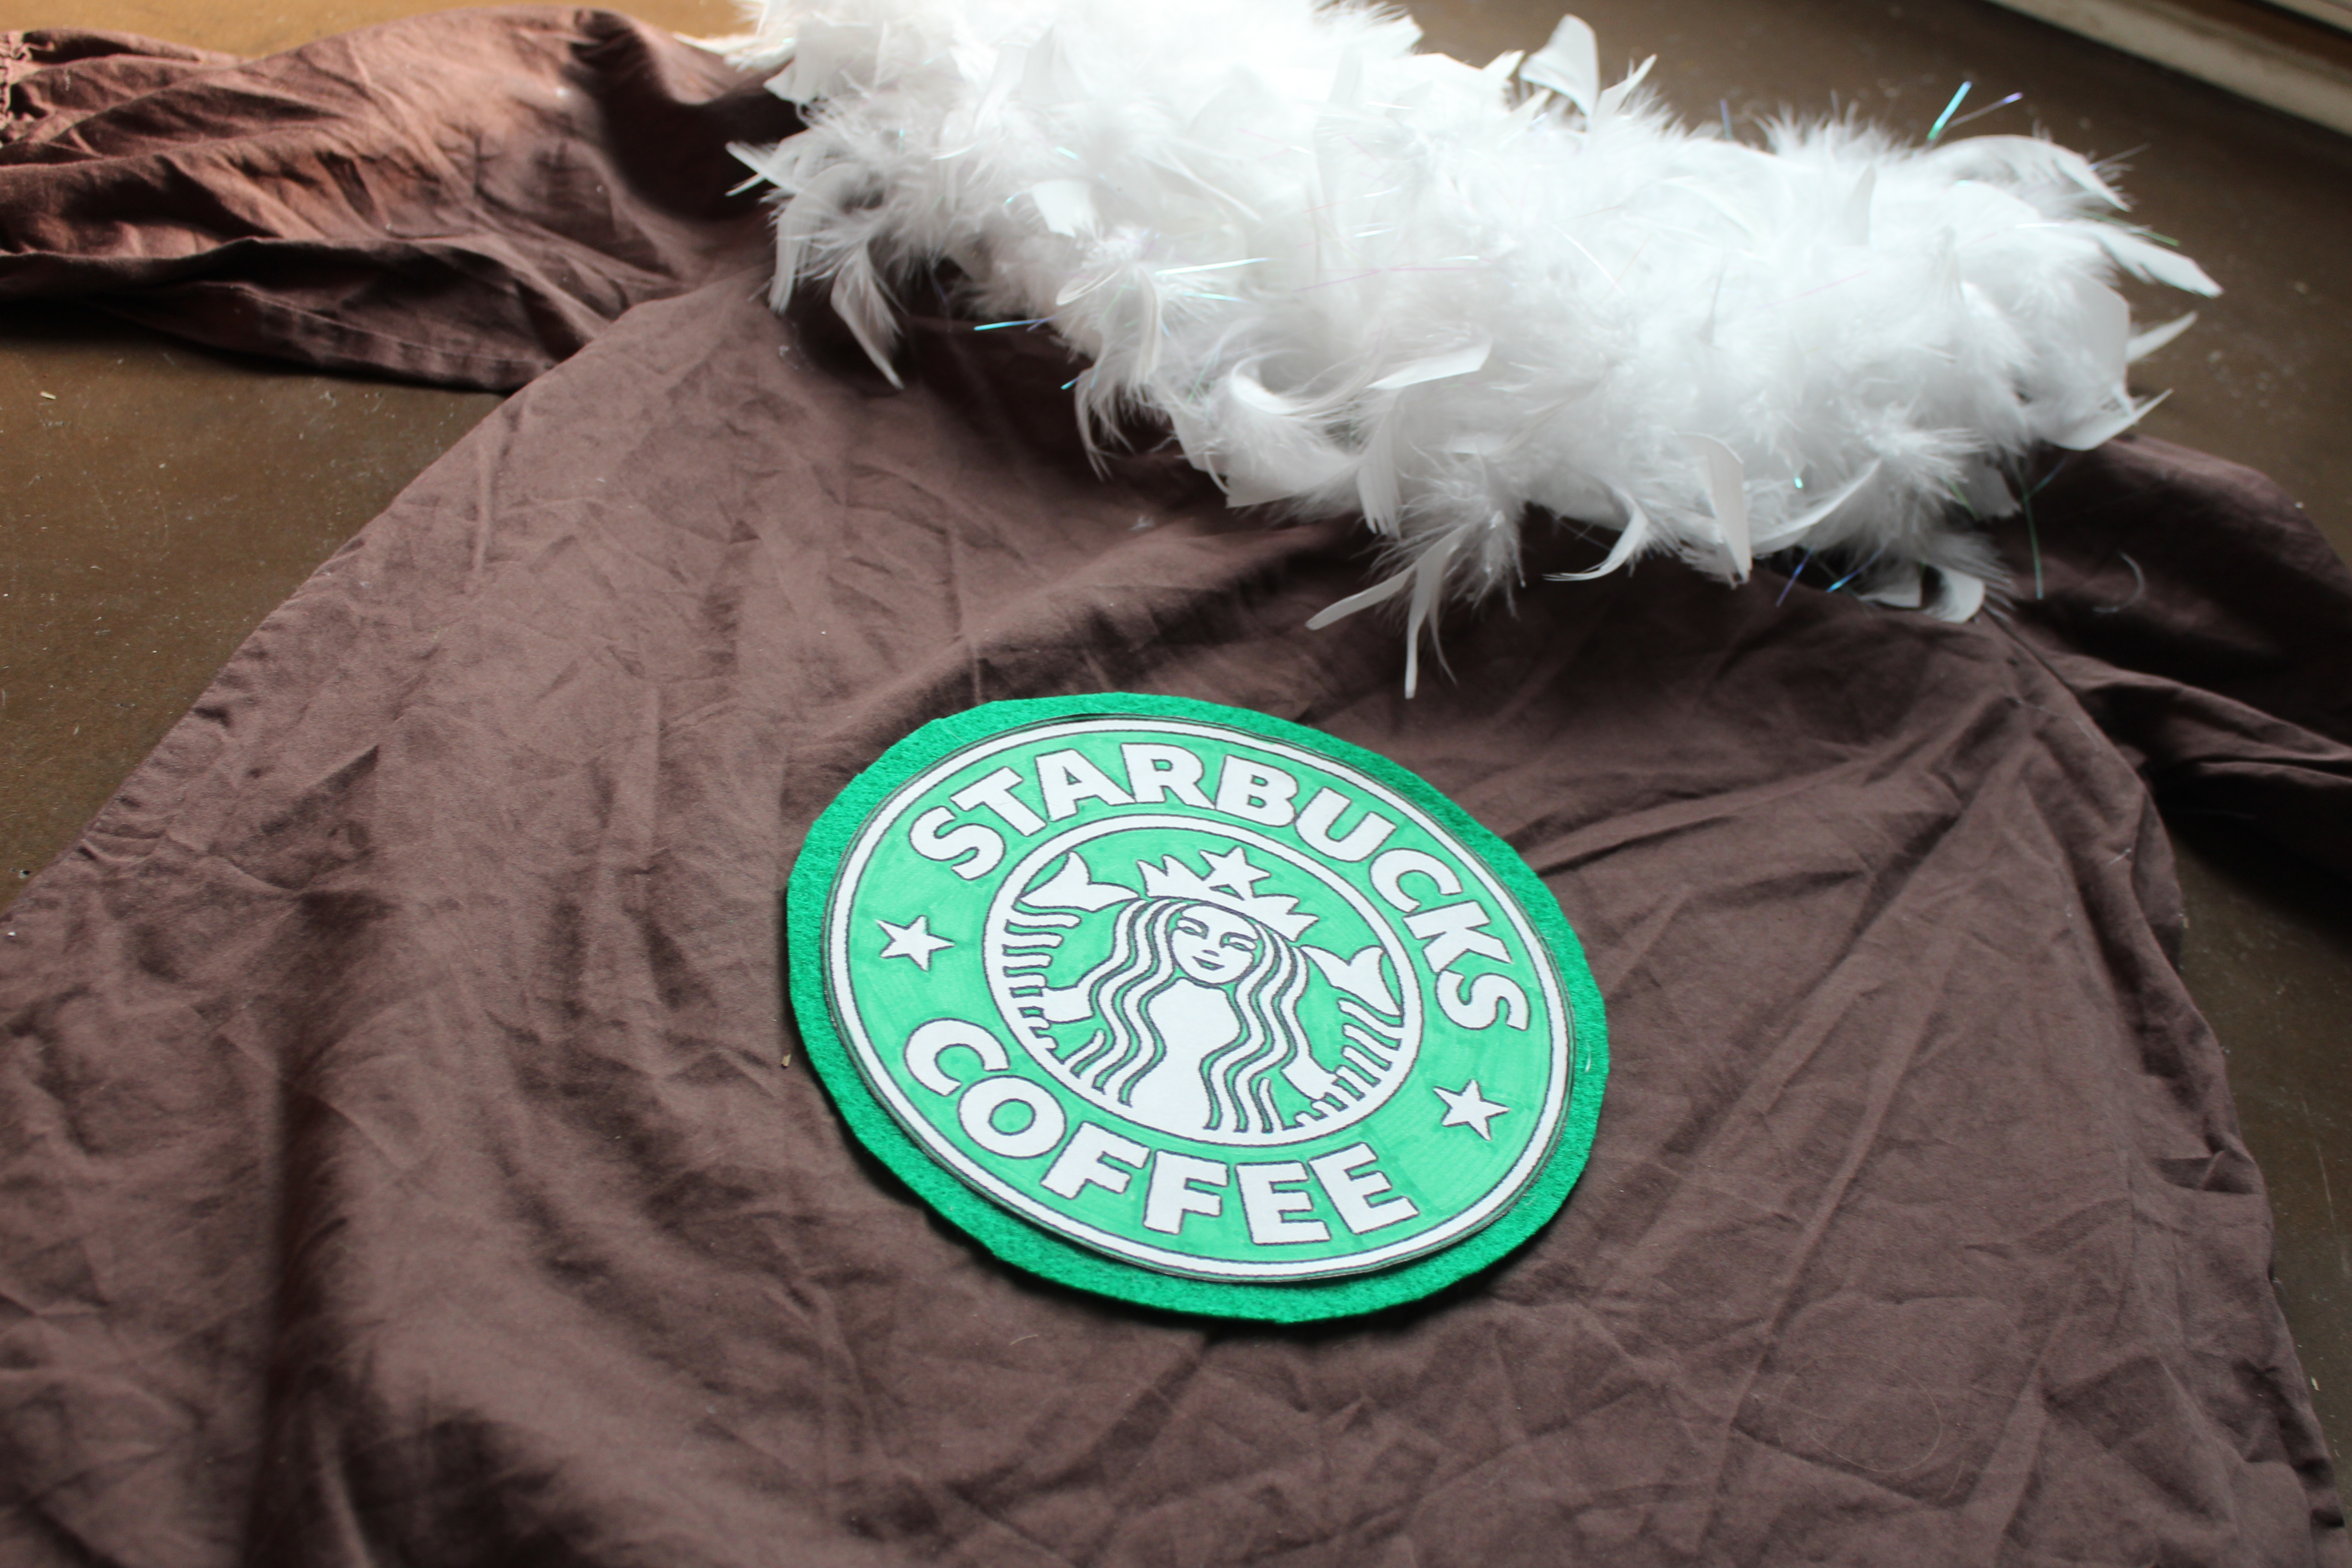

Step 5: Attach the logo to the front of your dress. I attached it using hot glue but, if you want a more secure, permanent logo, you can attach it with a fabric glue. Also, if you are planning to wear this dress out and fear that the logo may get wet, you may want to laminate it after you have colored. This will prevent the colors in the logo from running if it should happen to get wet. Allow your dress to dry before you put it on. This will ensure your costume is secure!
And that’s it! Five easy steps and you will look good enough to drink!
The total cost of this costume was only $12! Cute, budge friendly and totally unique!