
Embroidery was huge this summer and I could not get enough of the trend. It was so perfectly boho chic and gave the perfect detail to any outfit. I was so excited to see that this trend is carrying over to the fall.
One of the things that I wanted the most for the fall was an embroidered jacket. I have seen them all over the magazines and in my favorite stores, but most of them boasted a very hefty price tag. I couldn’t justify spending that much on a piece of clothing that was essentially a trend so I decided to take matters into my own hands!
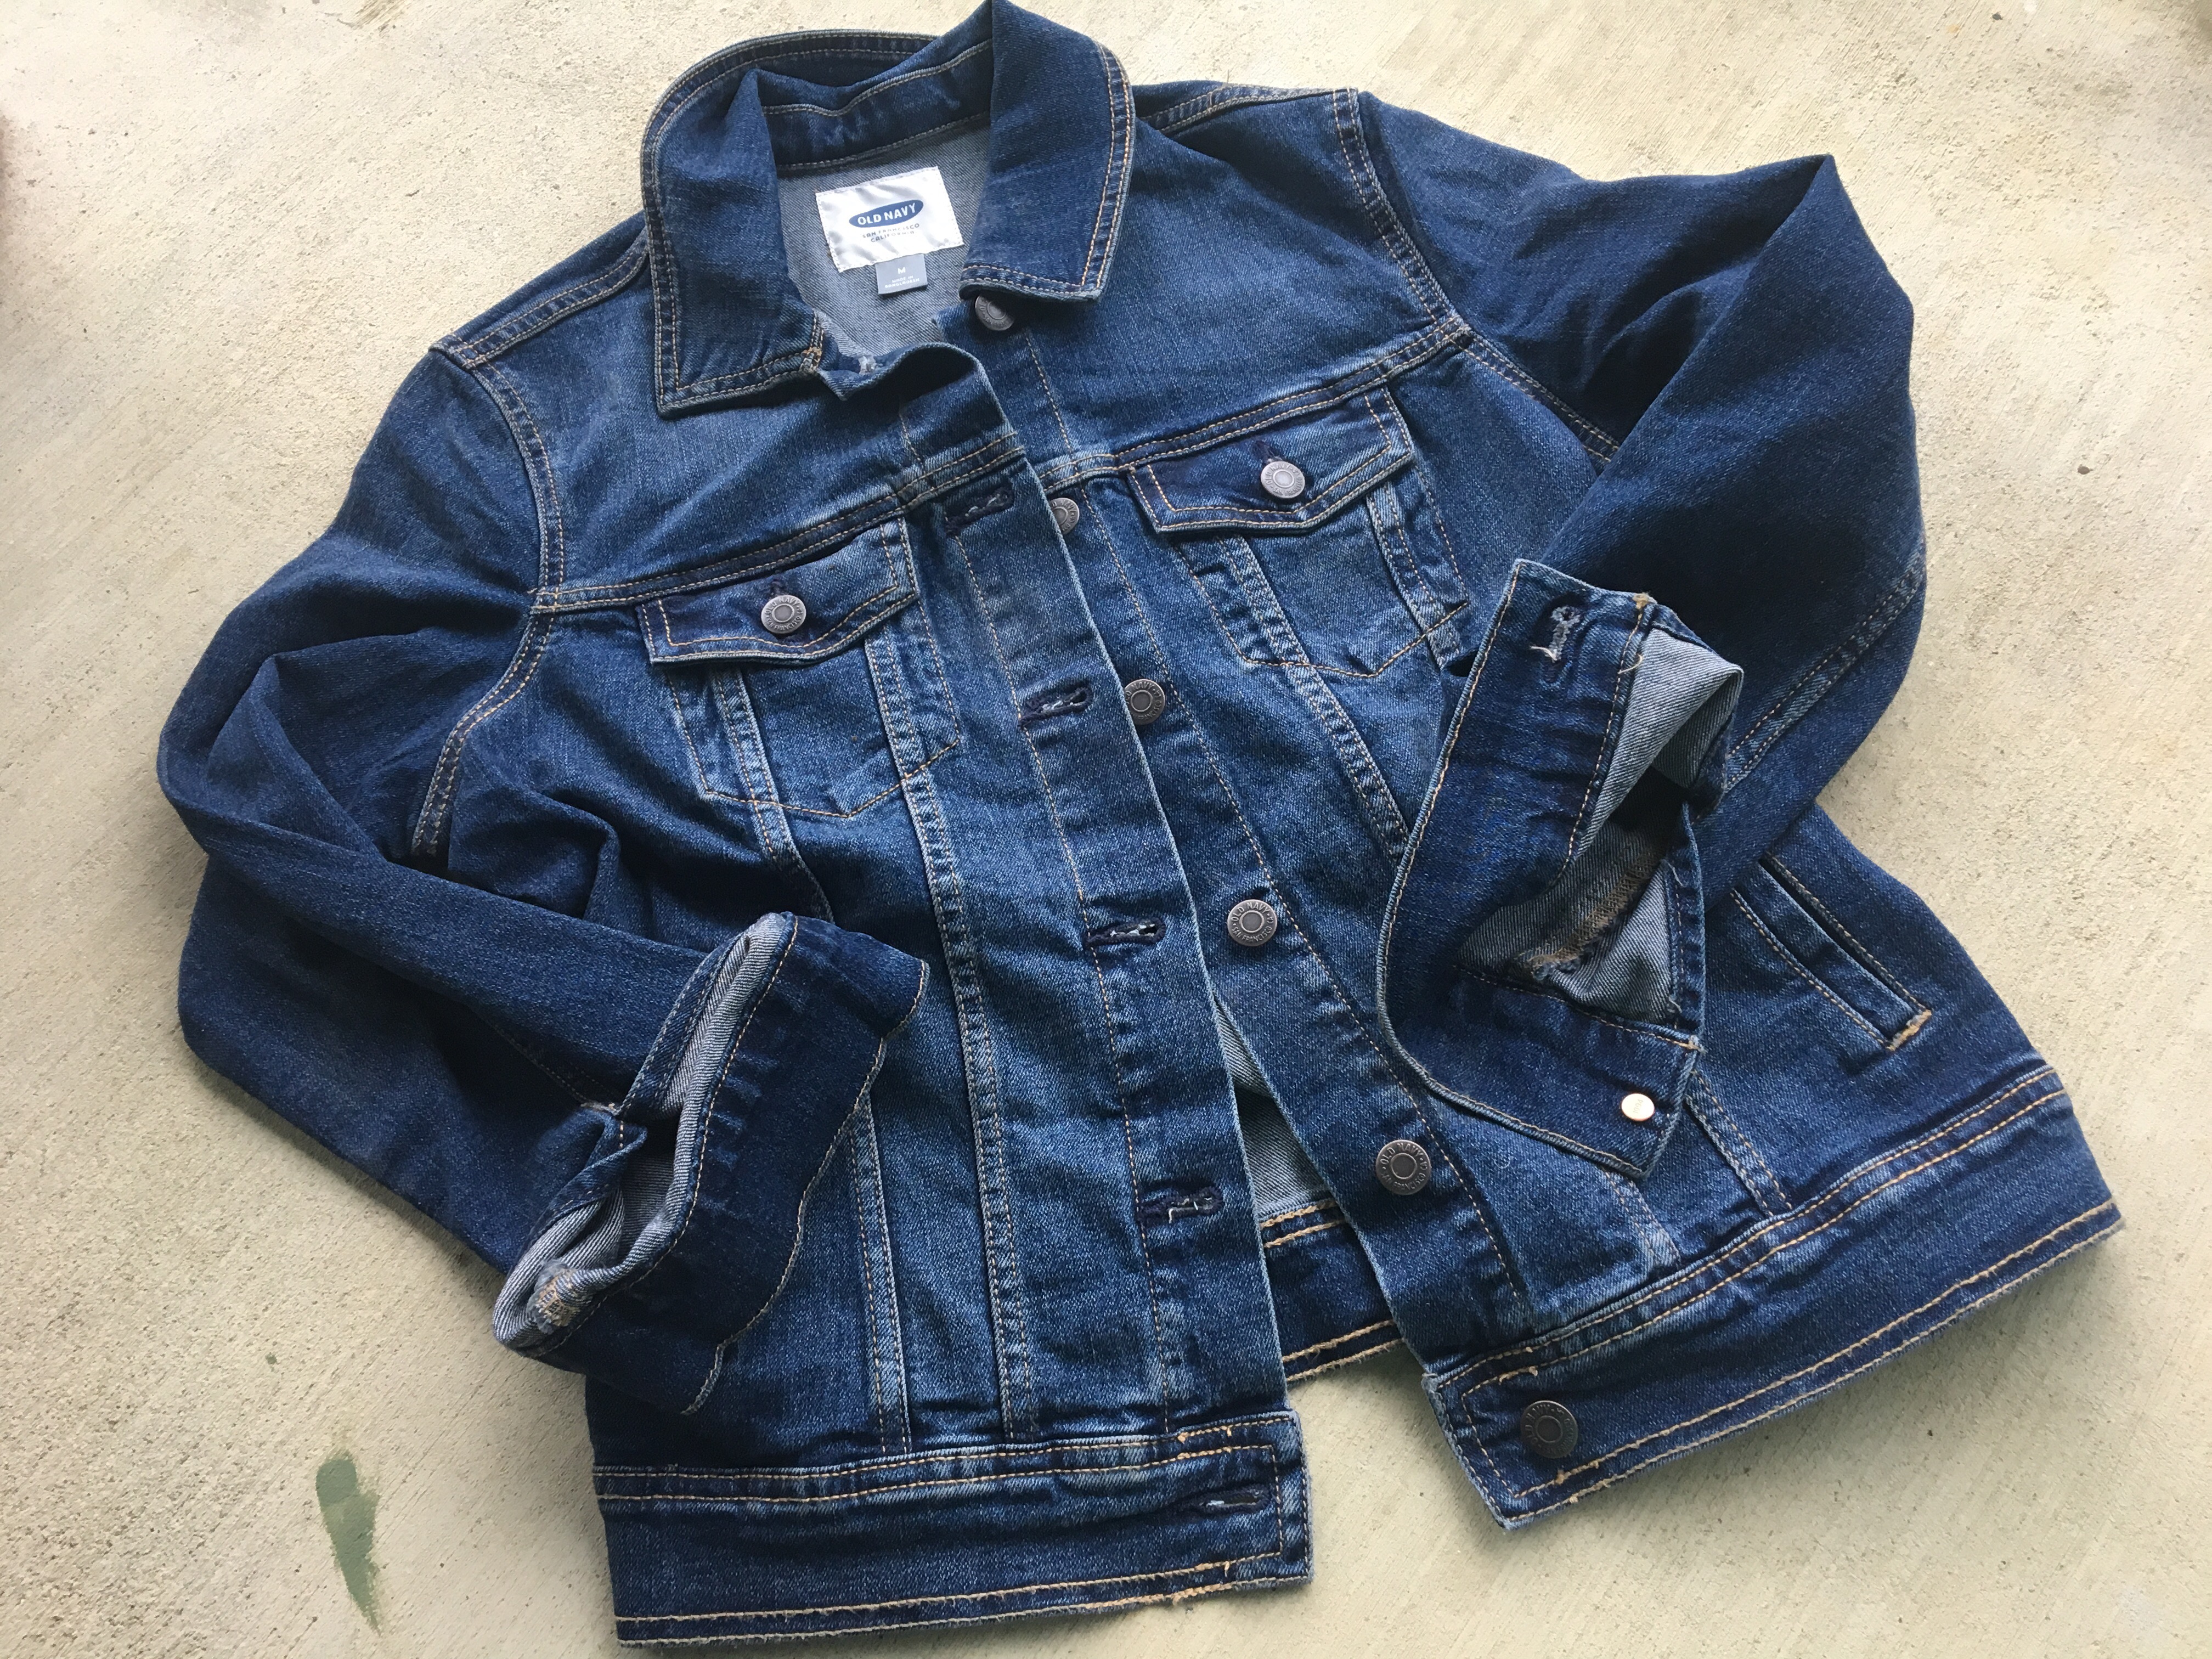
While perusing the racks of my local Goodwill, I came across the most perfect denim jacket and it was right there that my plan began to unfold. I was going to make my own embroidered denim jacket!
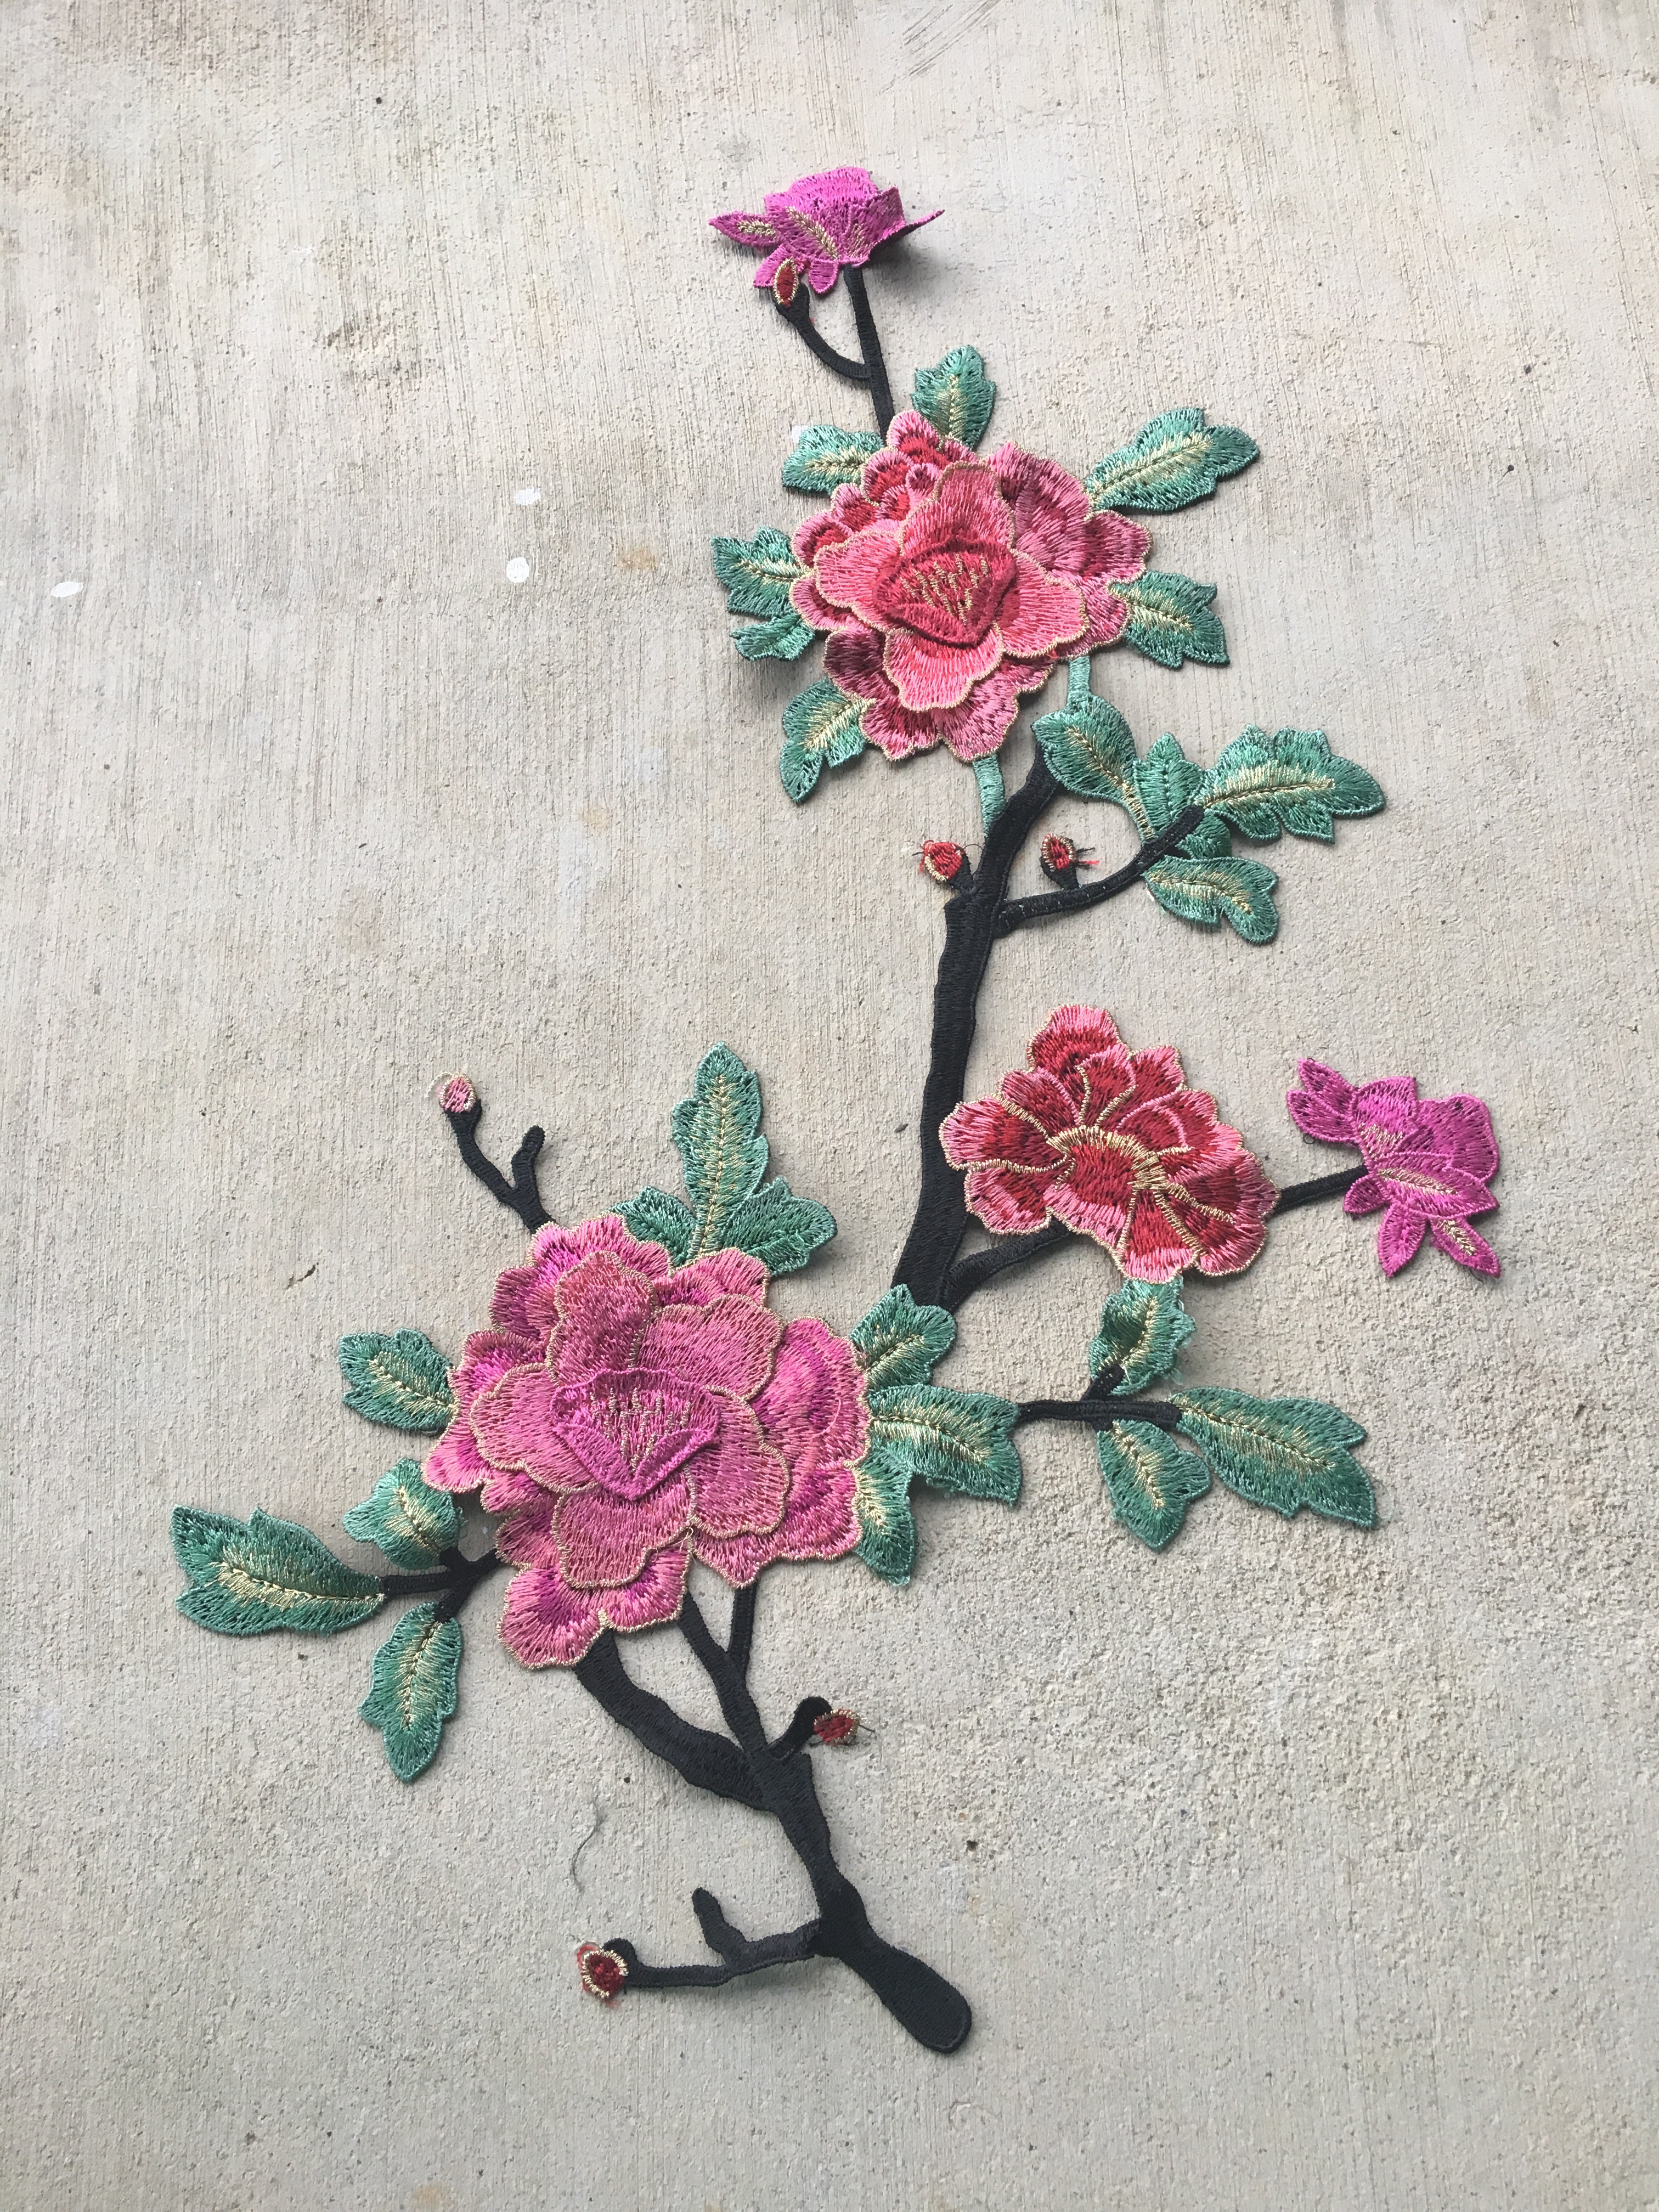
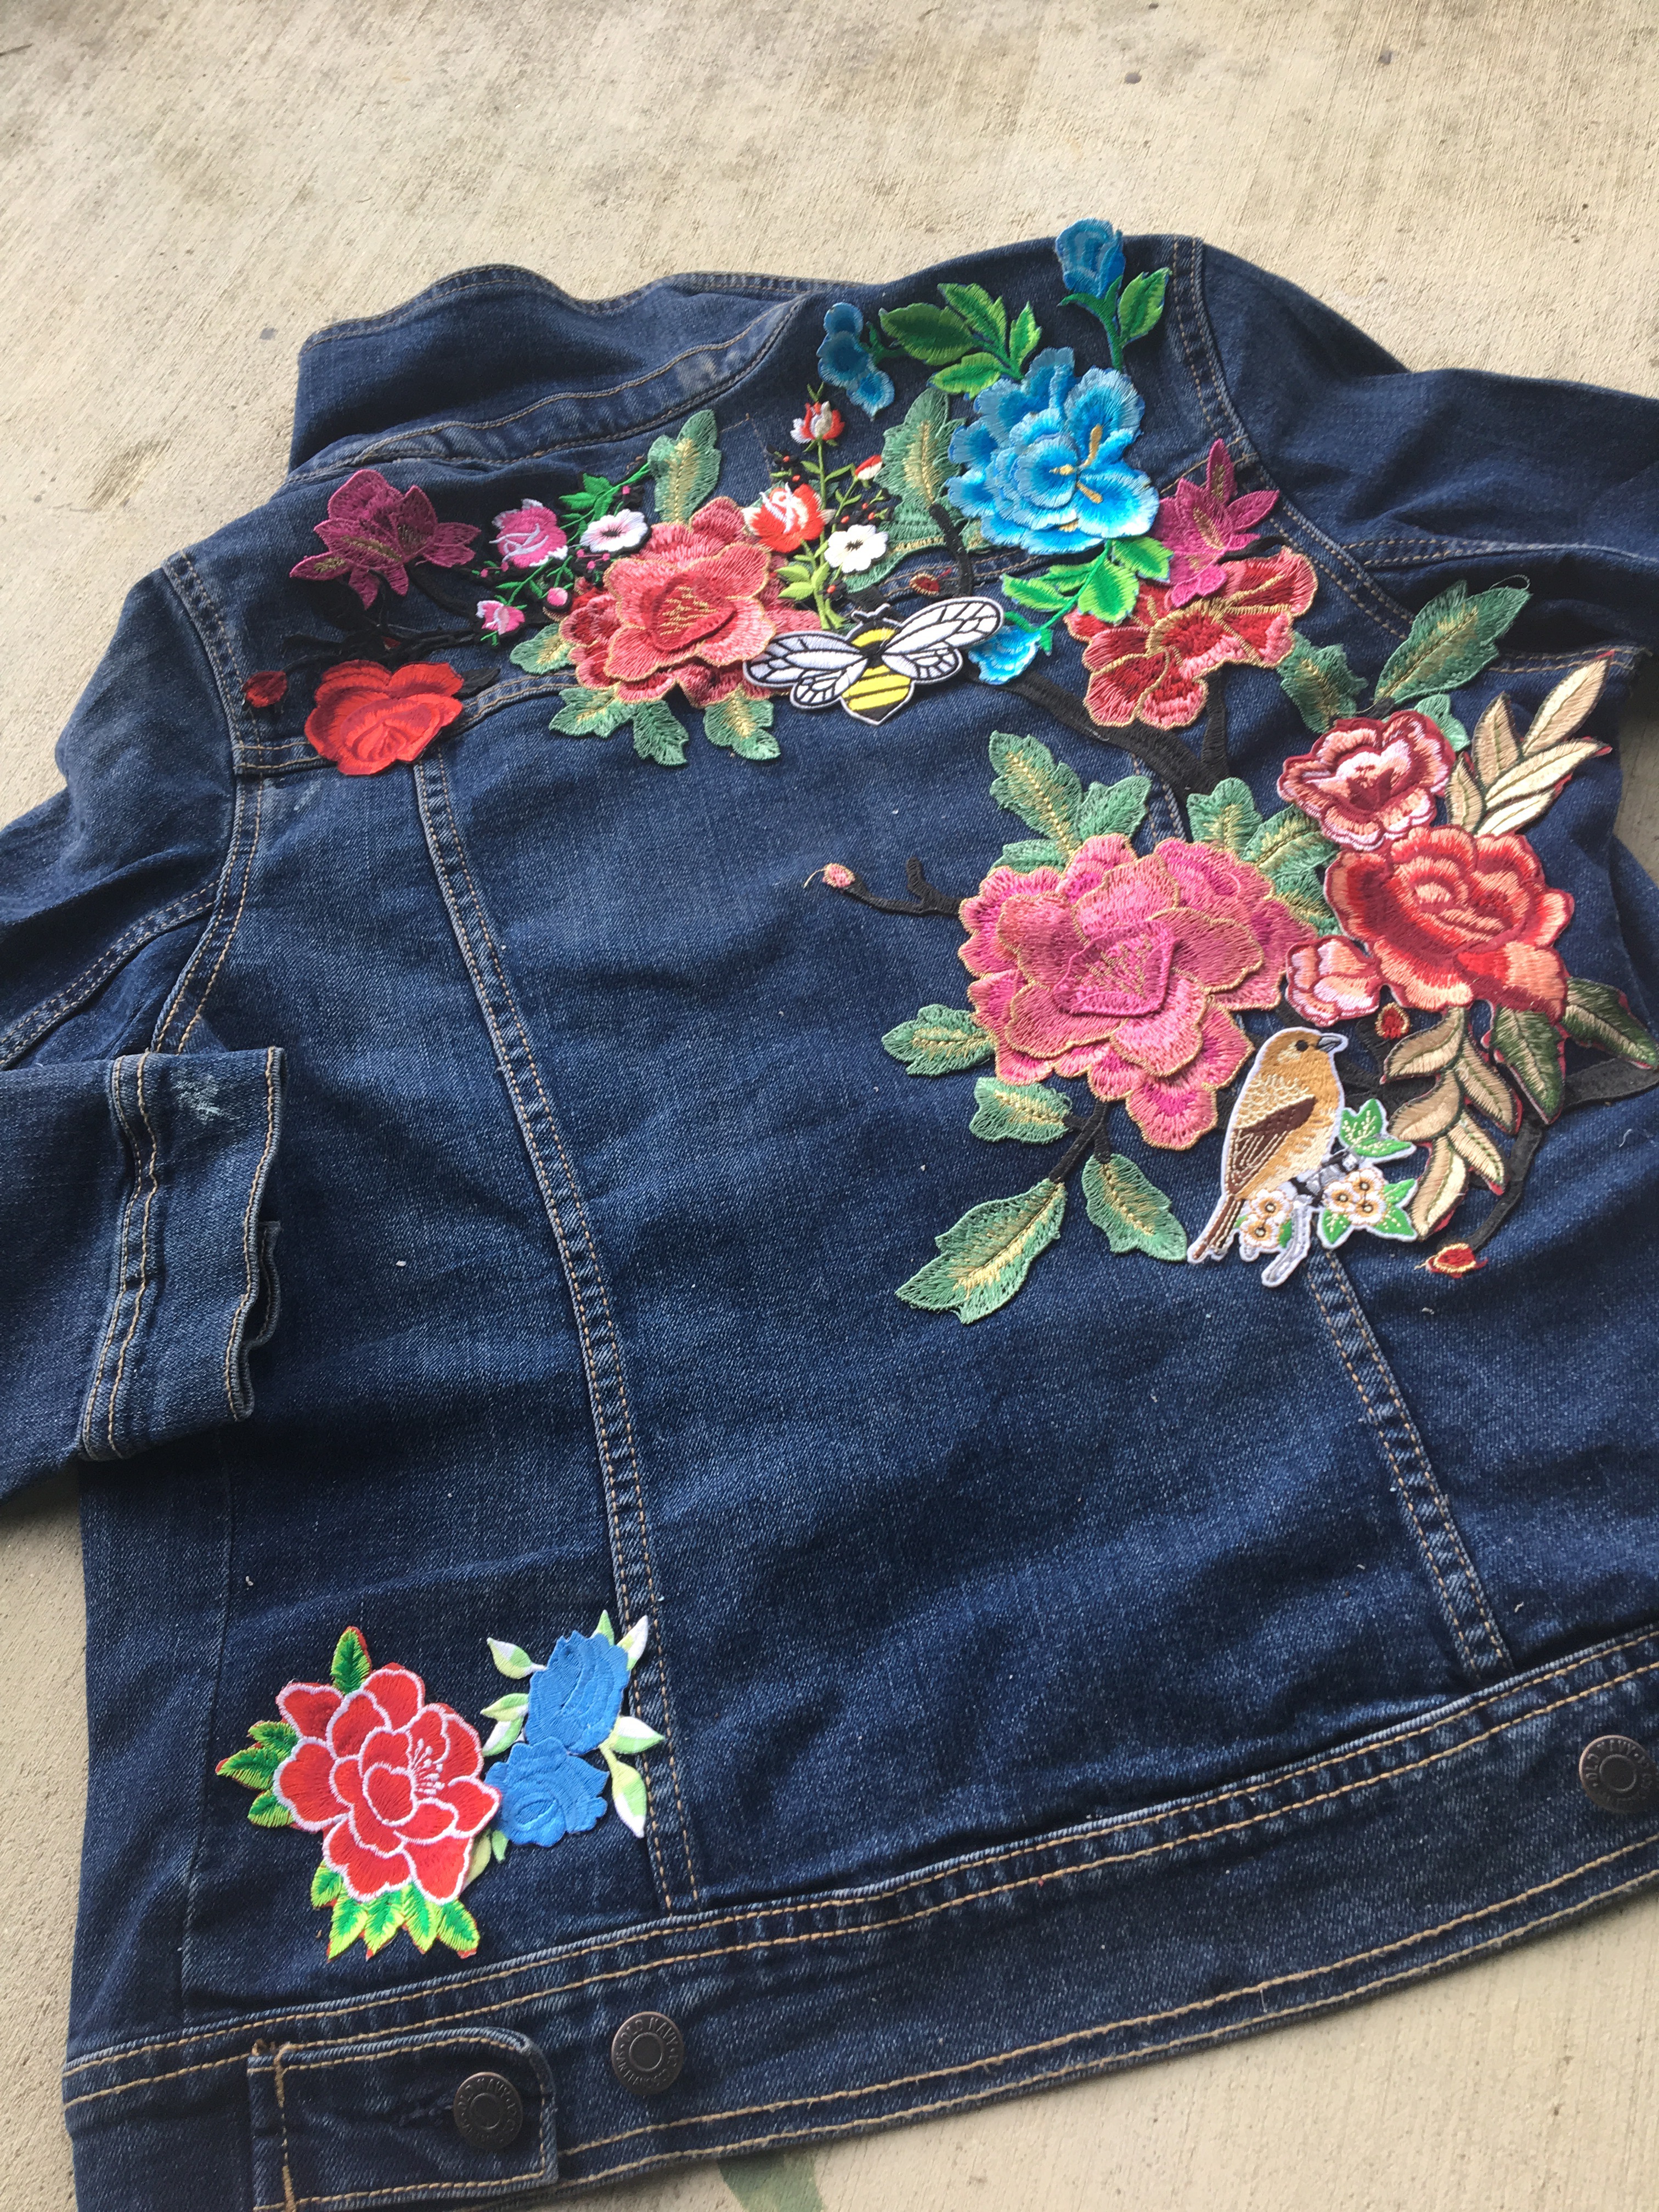
I did a little digging on the internet and after pricing a couple of different websites, I realized that I was going to get the best deal on eBay. I was able to refine my search to the price that I was willing to pay, as well as buyers that were offering free shipping. I decided to go with a flower theme so I chose quite a few different flower designs, as well as a bee and a bird. My favorite patch was a giant cherry blossom branch that was going to serve as the start of my vision.
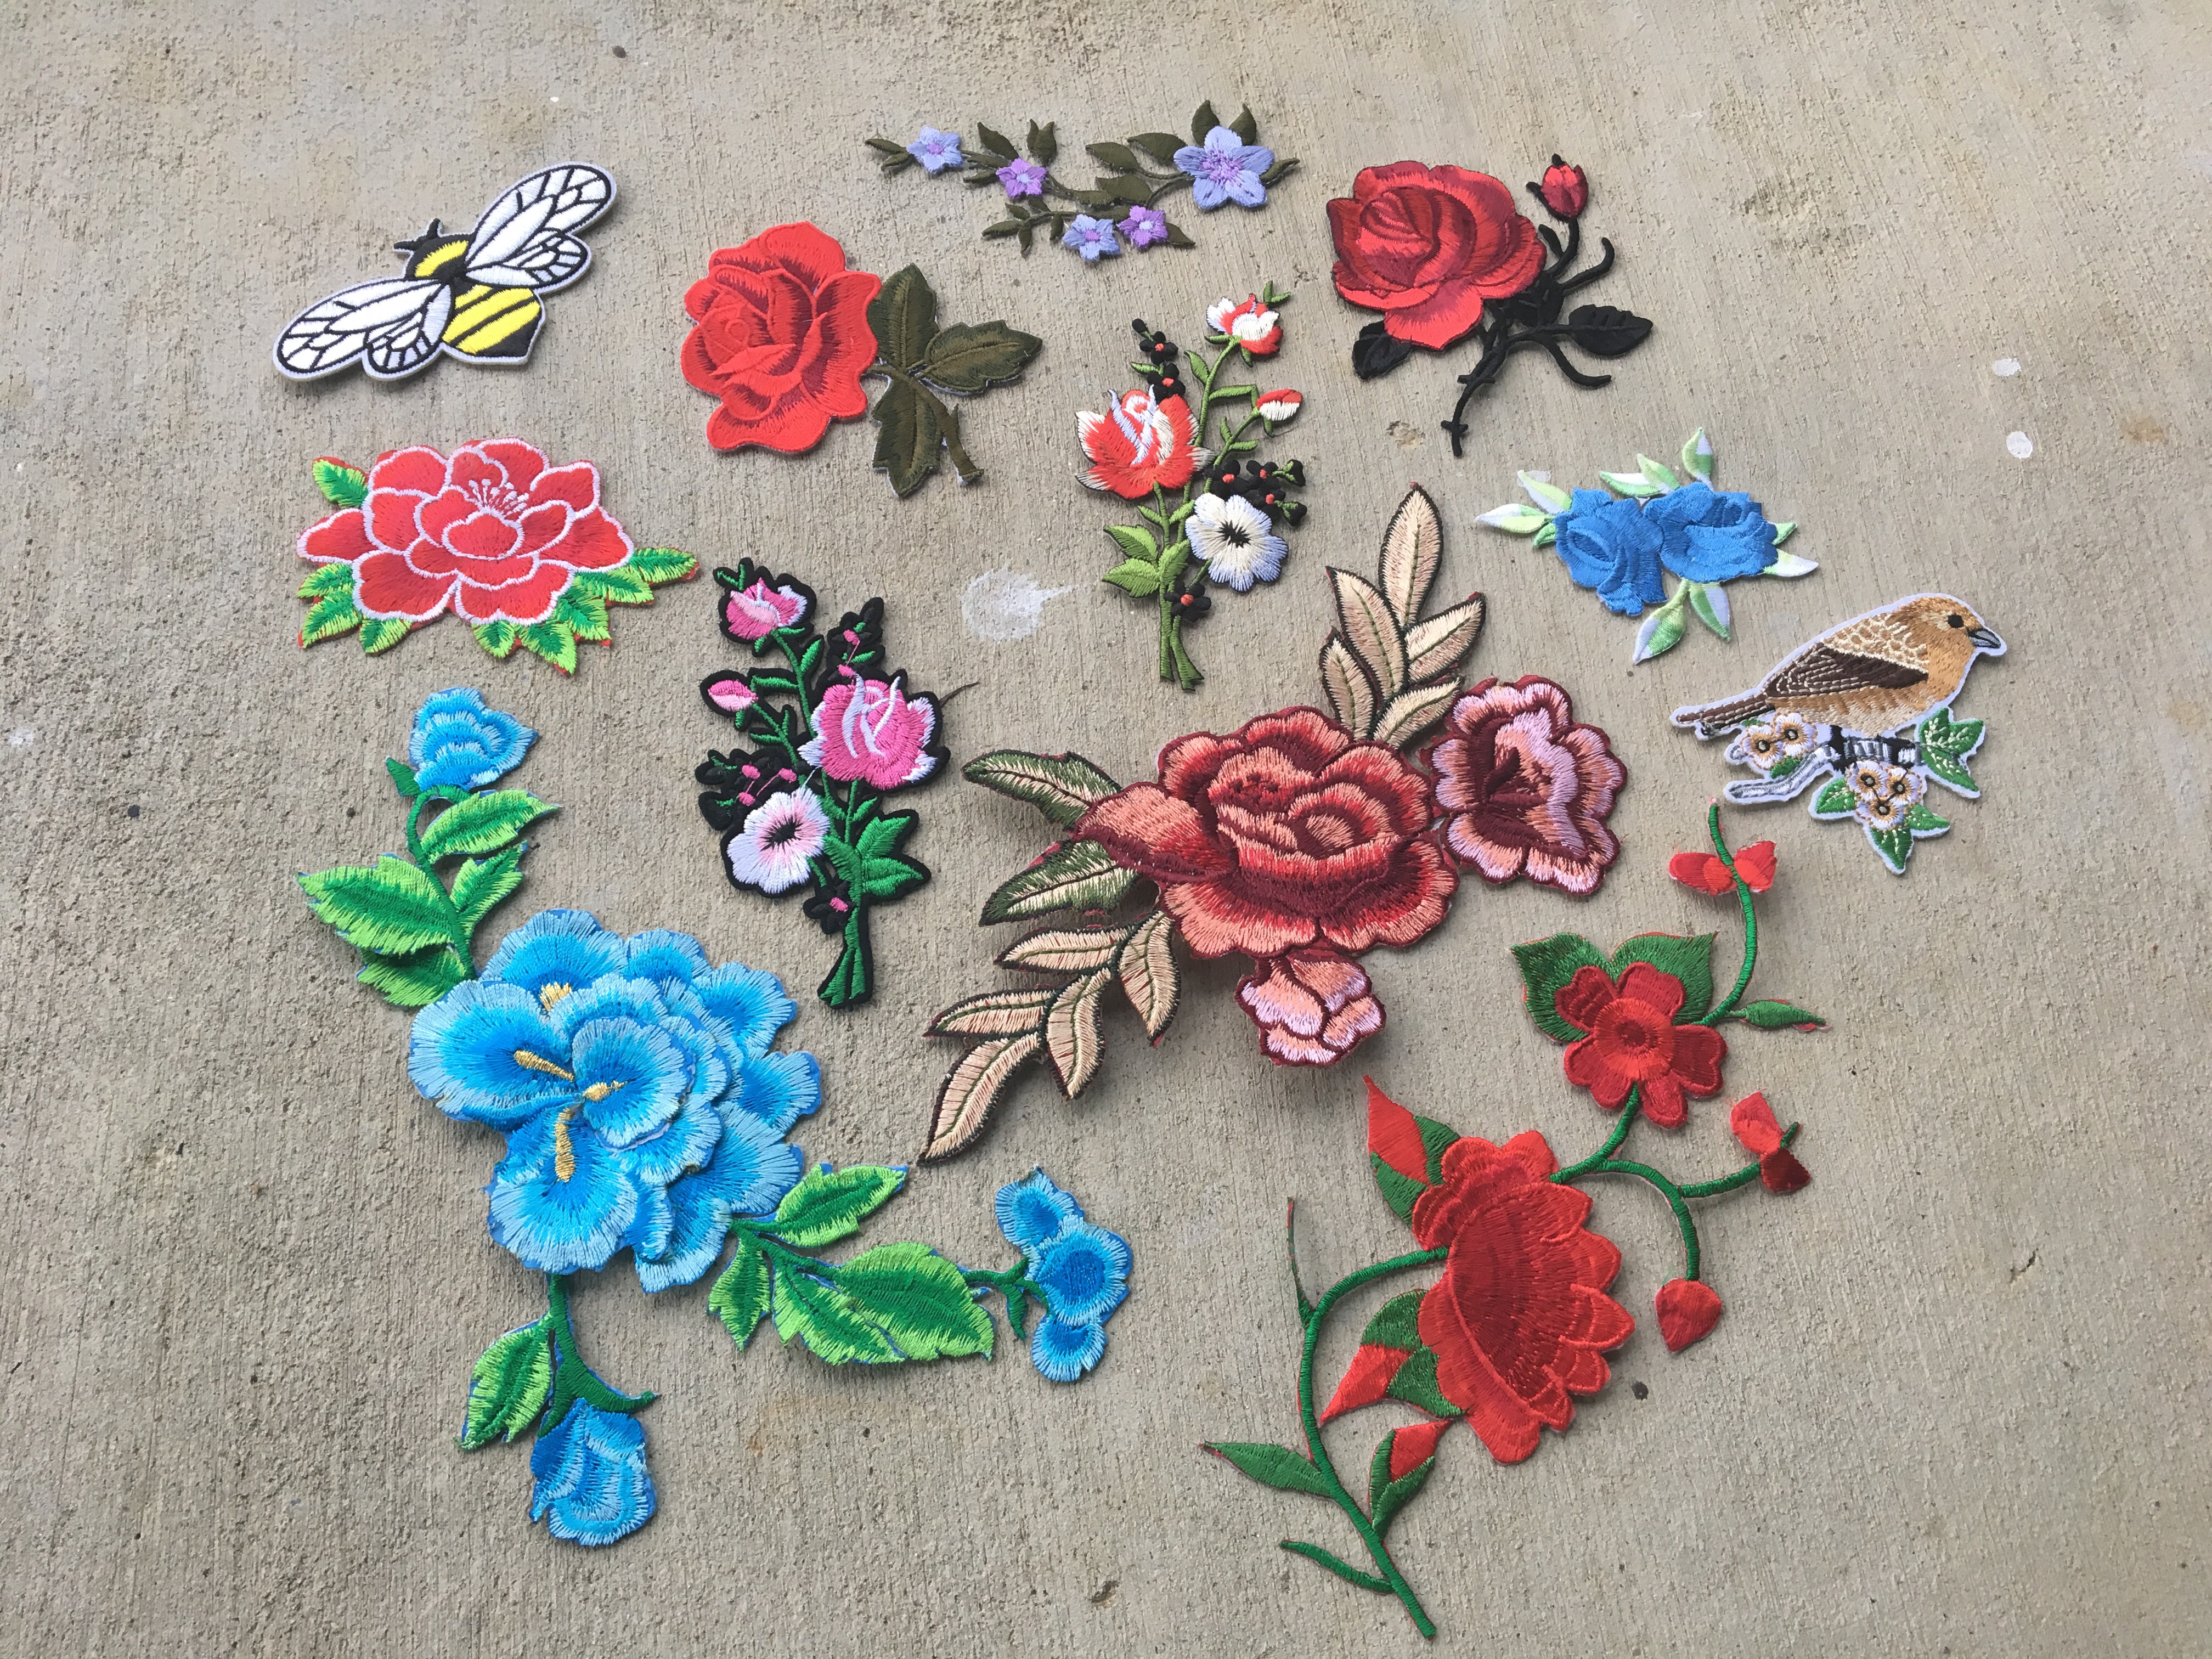
If you decide to make your own jacket, I strongly encourage you to lay out your design before you secure you it on your jacket. I laid out exactly how I wanted it to look and then took a picture on my phone for reference. Once I decided exactly how I want my jacket to look, I started to secure the patches.
Almost all of the patches that I ordered were iron-on but I really wanted to make sure everything was firmly secured on the jacket. I used E6000 craft glue to glue every patch onto the jacket. Then, after I had let the glue dry, I went back over the patches with an iron to further bond the patches to the fabric.
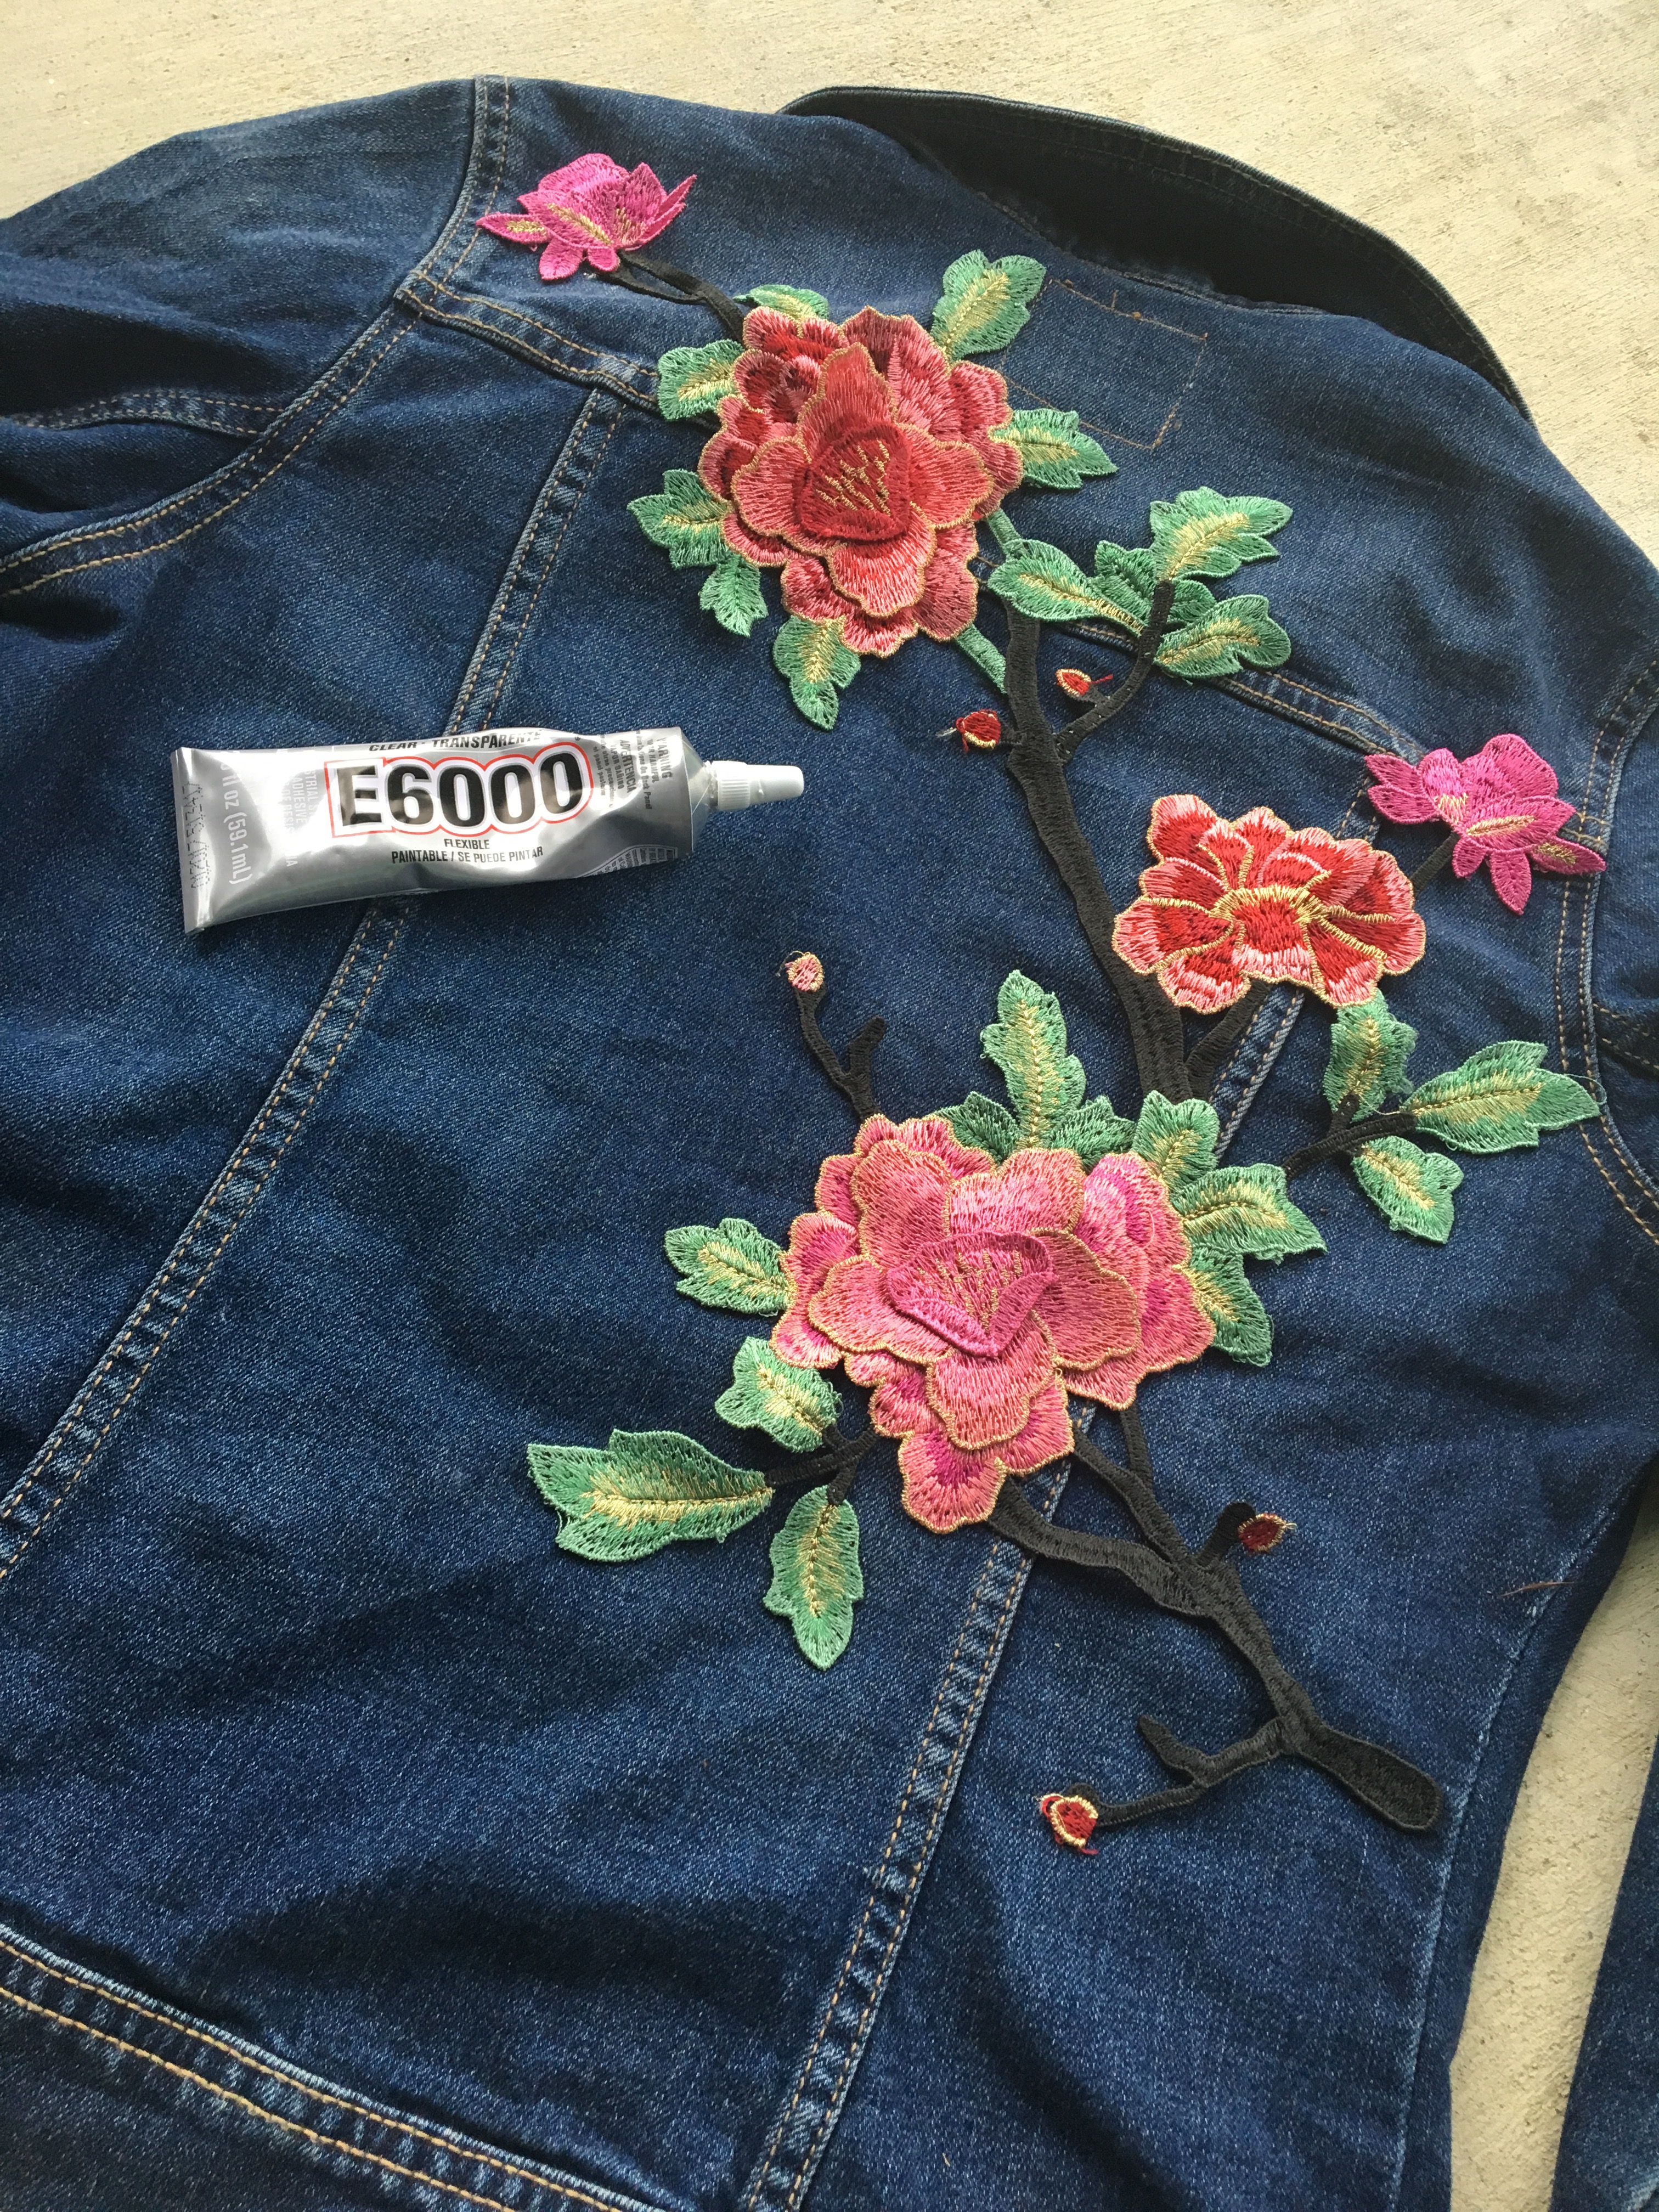
After I had the main patch secured, I carefully layered the other patches to achieve the design I desired. I would glue a small section a time, making sure that I secured all edges. I focused the patches on one corner of the back of the jacket but I made sure to do little pops on the opposite corner, the front of the jacket, even the sleeve!


If you want me one of your own, I suggest doing one side, let it dry, then do the other side. I completed the back first and then let that dry for about 24 hours. Once I was sure it was dry, I flipped it over and completed the front and the sleeve. Because I achieved the design by layering patches, I wanted to make sure that was no chance of any patch slipping. They only way to ensure this was if everything was completely dry. After both sides had completely dried, I covered the patches with a towel and ironed over them, furthering their seal even more. I also turned the jacket inside out and went over the back of the patches, making sure that I had a good bond.

And that’s it!
It was truly an easy and affordably DIY! The hardest part was waiting the 24 hours for the glue to dry. While I have seen these jackets for upwards of $300, the total cost for this project was less than $25!
Best Part? It was completely unique, definitely one-of-a-kind, and perfectly tailored to fit my personality. Also, since I shopped at Goodwill, I was giving back to my community, and that is definitely shopping for a good cause!
I can’t wait to style this fun piece all season long! Please let me know if you decide to make one of your own! I always love to hear from you and would especially love to see your finished product!


I am definitely going to try this!! I have an old denim jacket that I was about to give away. I’m thinking this will give it a whole new life!! ? Thanks for the inspiration!!
I am so happy!! I would love to see your finished product!! Share it on Insta and tag me, @beingmrsfowler, so I can check it out!
I like the jeans jacket. I read your blog, and I got a lot of good ideas. You have done a lot of good work by sharing information about the embroidered patch over the jacket. Thanks a lot for this beauty Enjoying article with me. I appreciate it very much!